Complete Guide to Music Distribution on Abacuos
Step 1: Account Creation
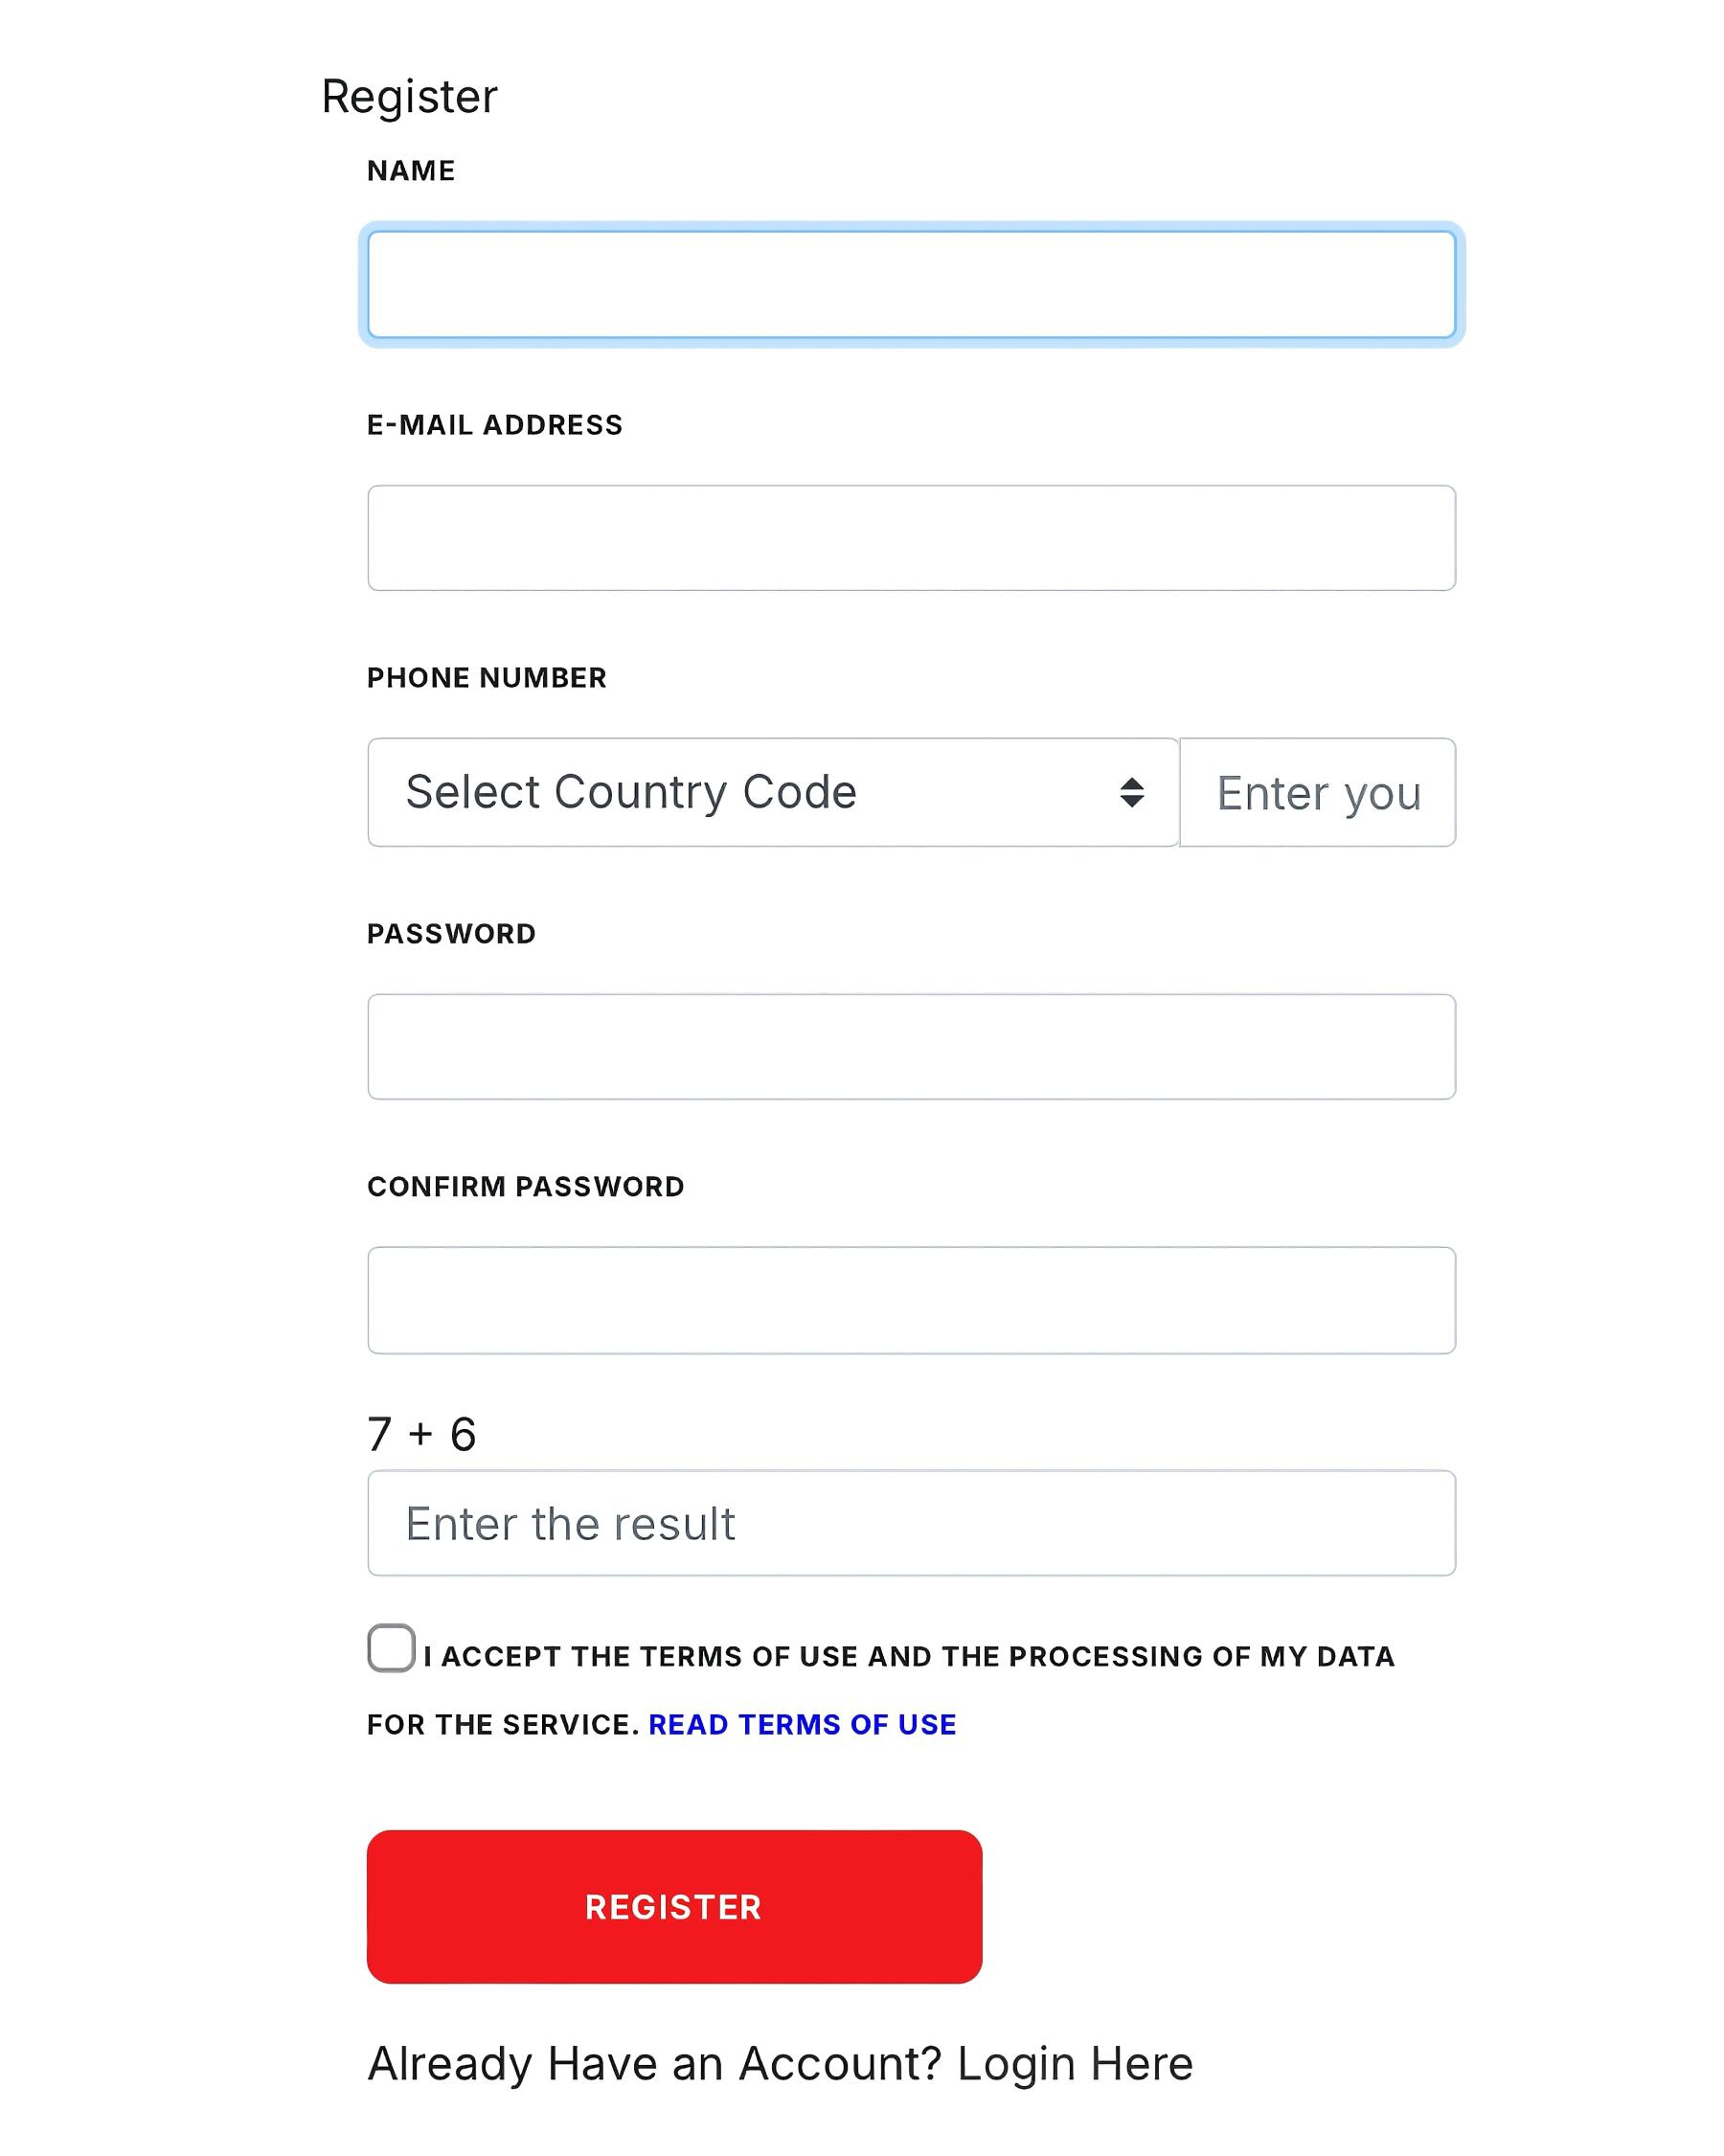
To start distributing your music with Abacuos, visit https://abacuos.com/user/register and create your account by filling in the required personal information.
Step 2: Annual Fee Payment
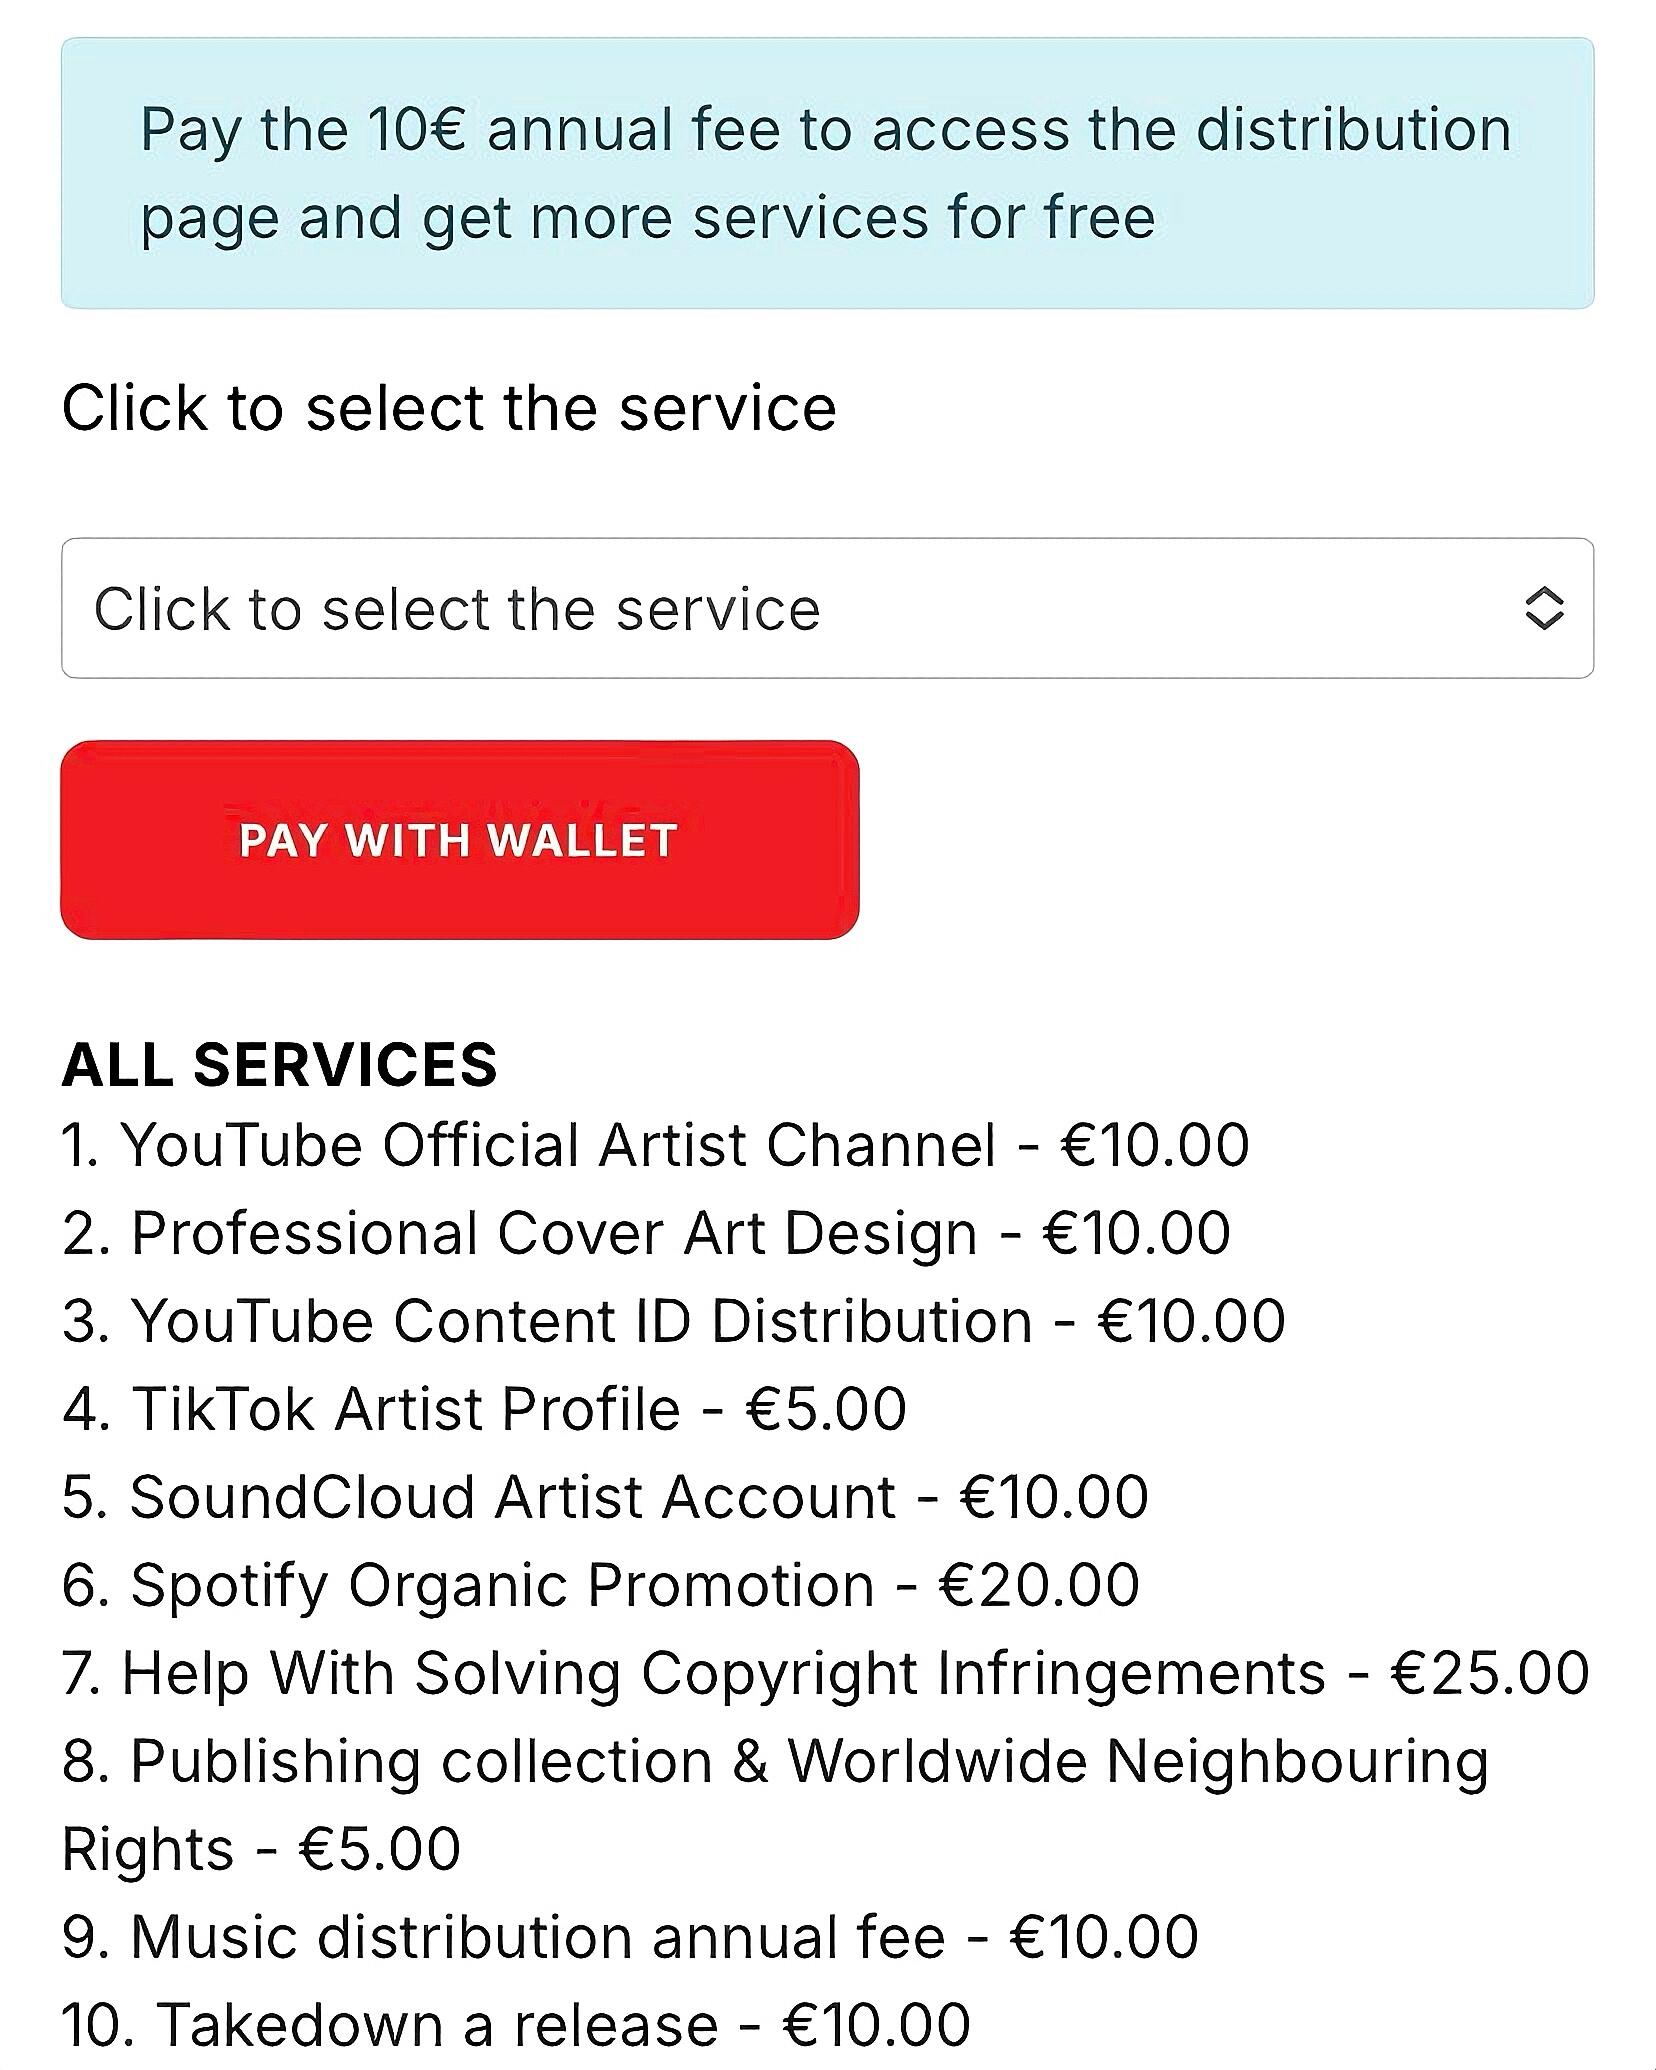
After creating your account, go to the "Music Distribution" option to pay the annual fee of 10 euros.

Note: Only after paying this fee will the artist be able to distribute new releases.
The payment can be made through this link: https://abacuos.com/service/music-distribution-annual-fee-11.
Step 3: Creating the Release Title
- After making the payment, the artist will be able to start the distribution process.
The first step is to create a title for the release, which must be formatted according to the platform's rules.
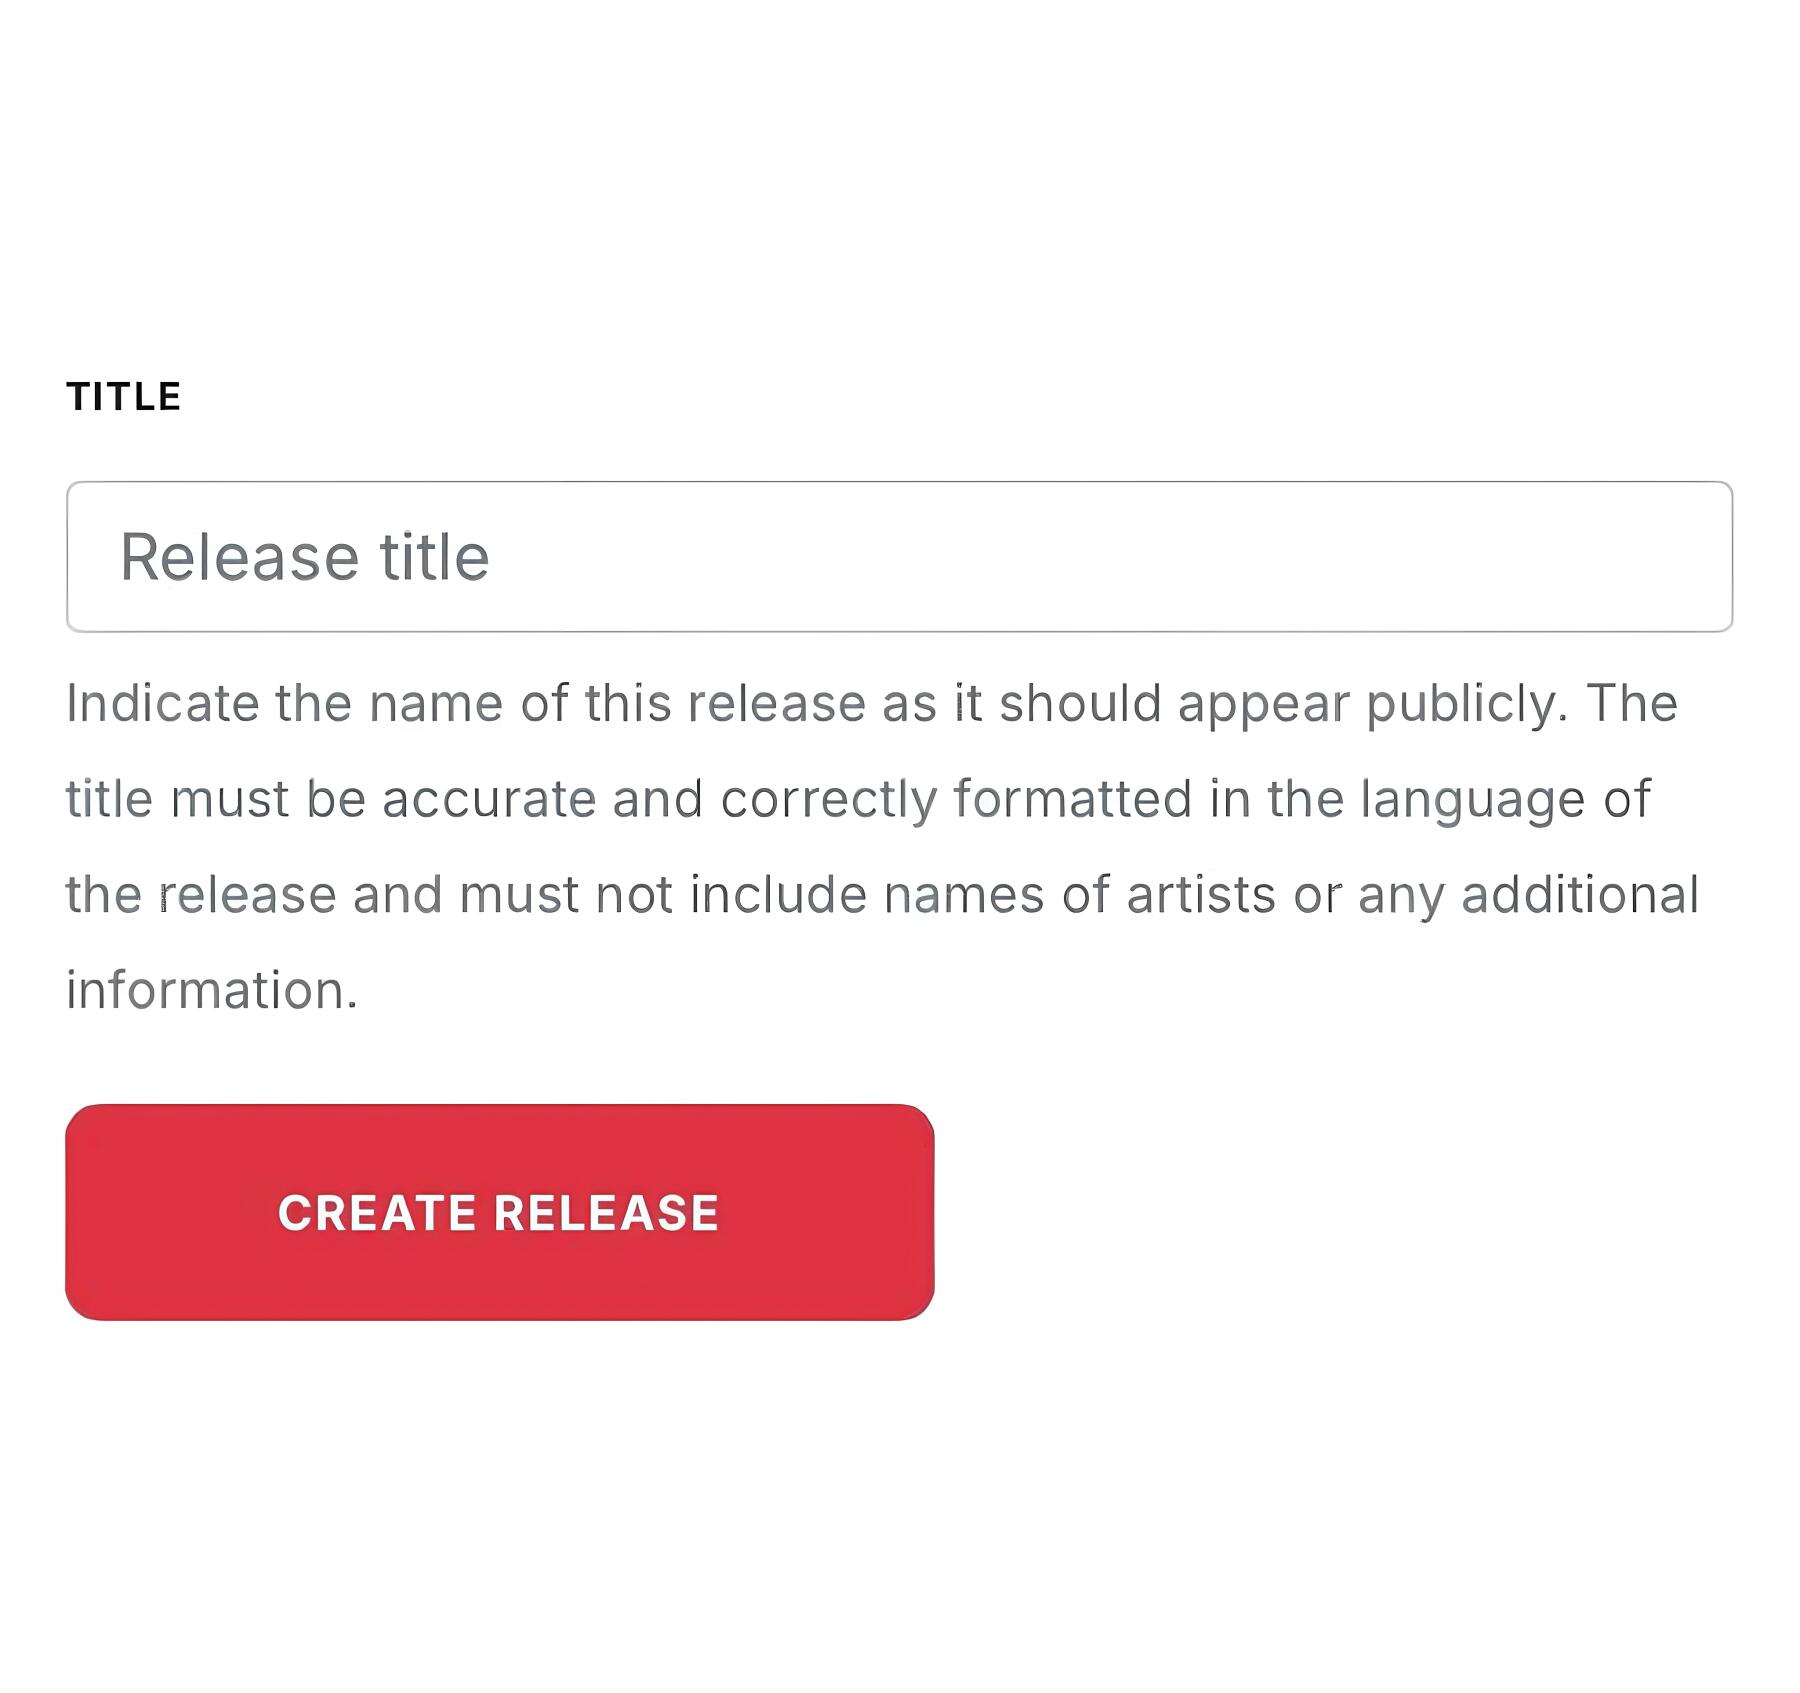
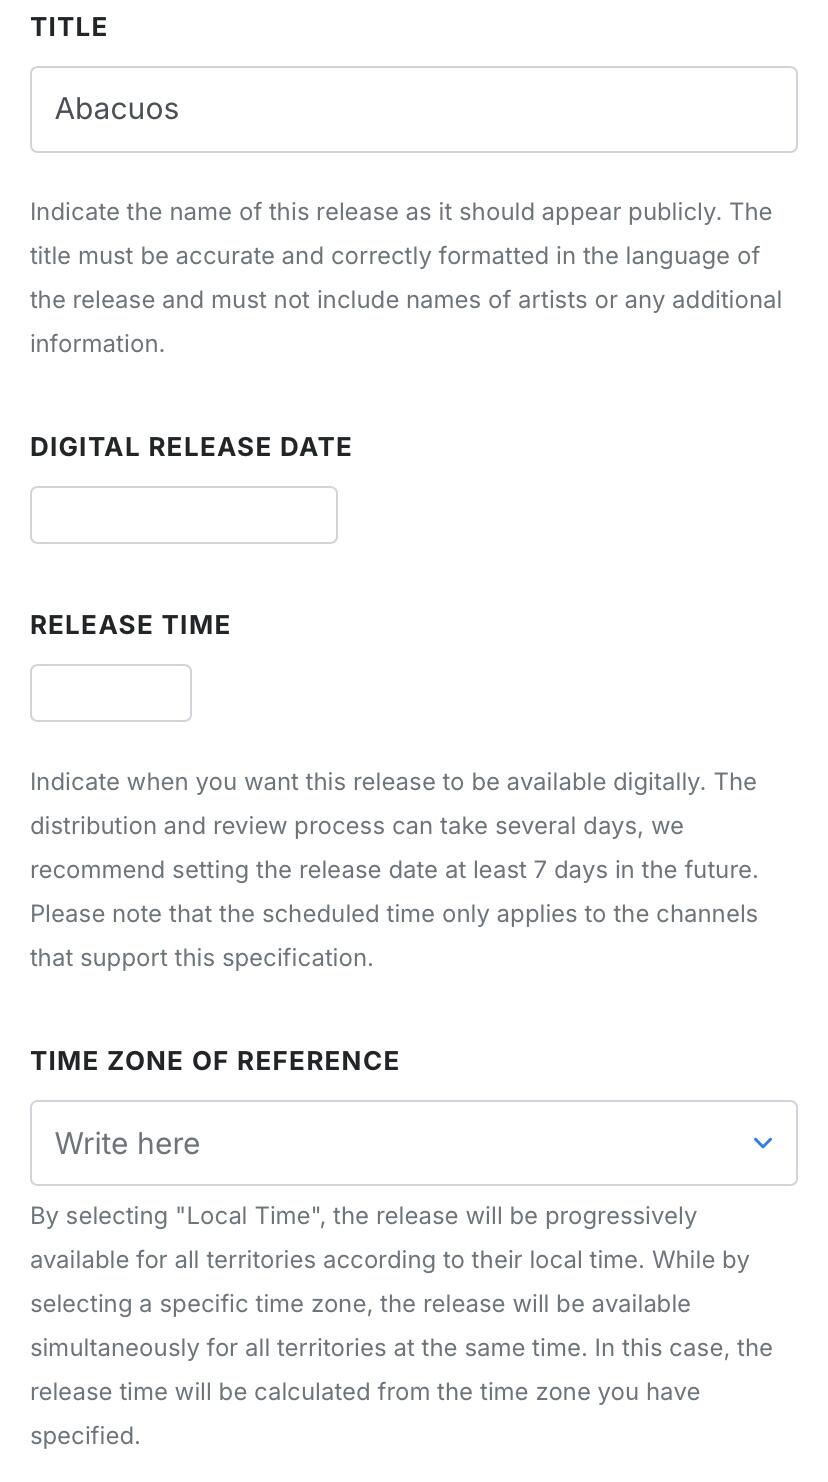
Title: Indicate the name of the release exactly as you want it to appear publicly. The title must be accurate and correctly formatted in the language of the release and must not include artist names or any additional information.
After setting the title, click "Create Release" to continue.
Step 4: Filling in Release Information
- In this step, the artist must provide the following details:
Title: Name of the release as it will appear to the public.
Version (Optional): If it is a different version from the original (e.g., Remix, Live, Radio Edit), indicate how to differentiate this version.
Language of the Titles: Select the language in which the release and track titles are written.
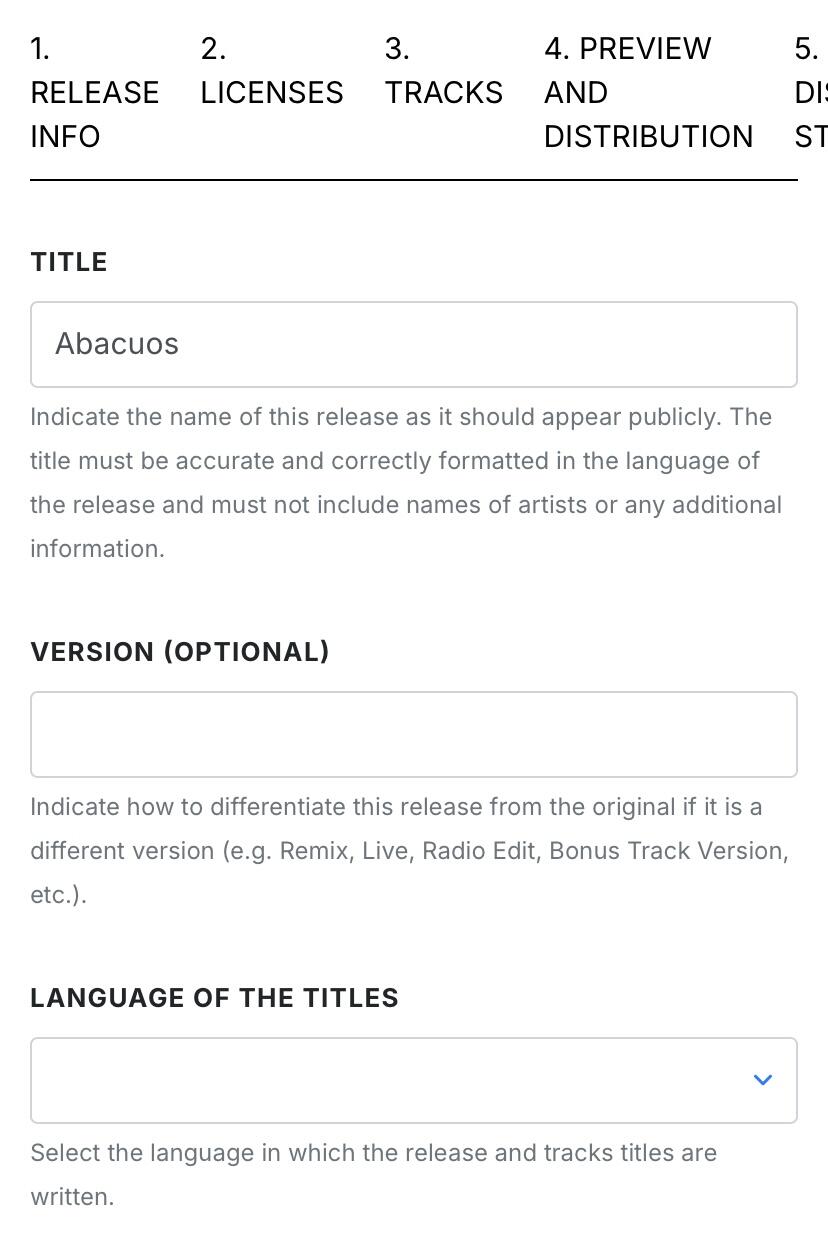
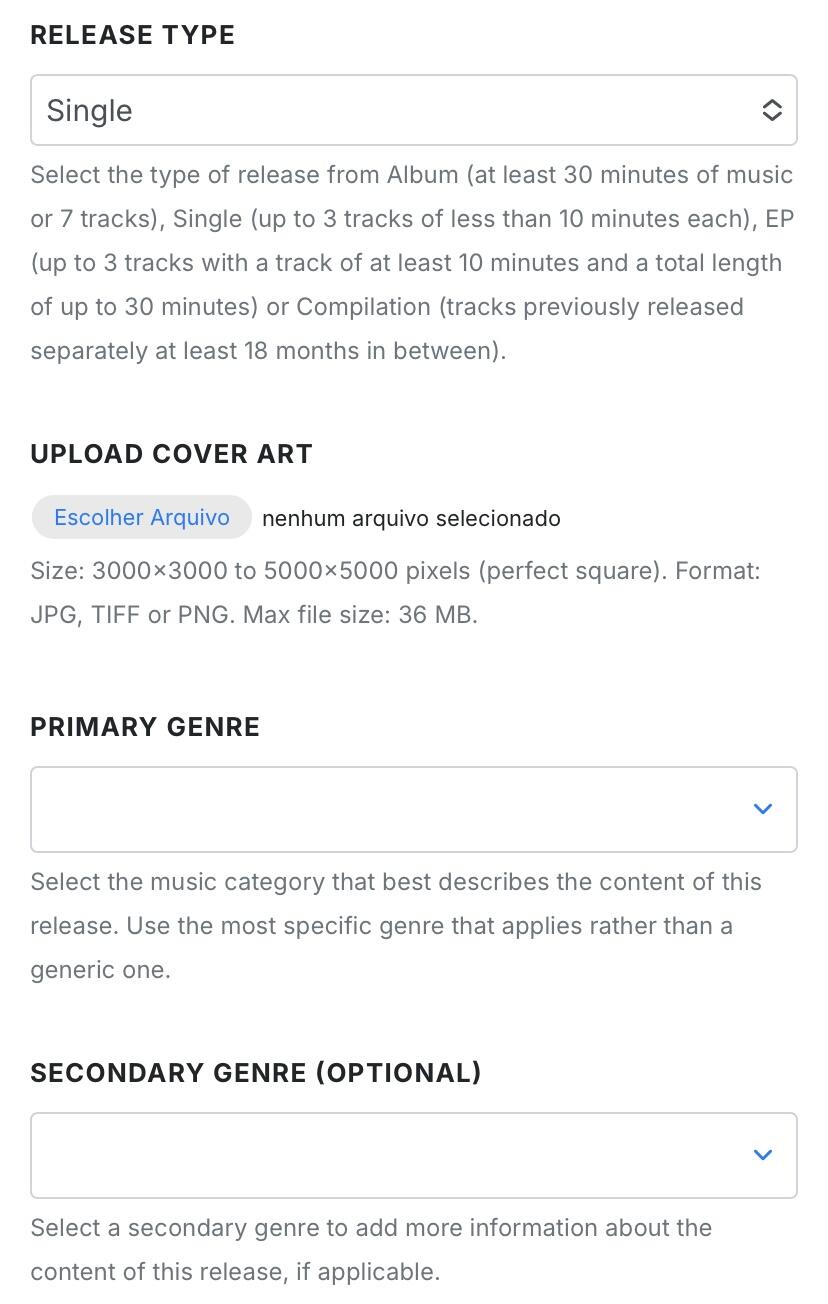
Release Type: Select the type of release:
Single: Up to 3 tracks, each under 10 minutes.
EP: Up to 3 tracks, with at least one track of 10 minutes and a total length of up to 30 minutes.
Album: At least 30 minutes of music or 7 tracks.
Compilation: Tracks previously released separately, with at least 18 months between them.
Upload Cover Art: Upload the cover art in a square format, sized between 3000x3000 to 5000x5000 pixels. Accepted formats are JPG, TIFF, or PNG, with a maximum file size of 36 MB.
Primary Genre: Select the music genre that best describes the content of the release.
Secondary Genre (Optional): If desired, select a secondary genre to provide more detail about the release.
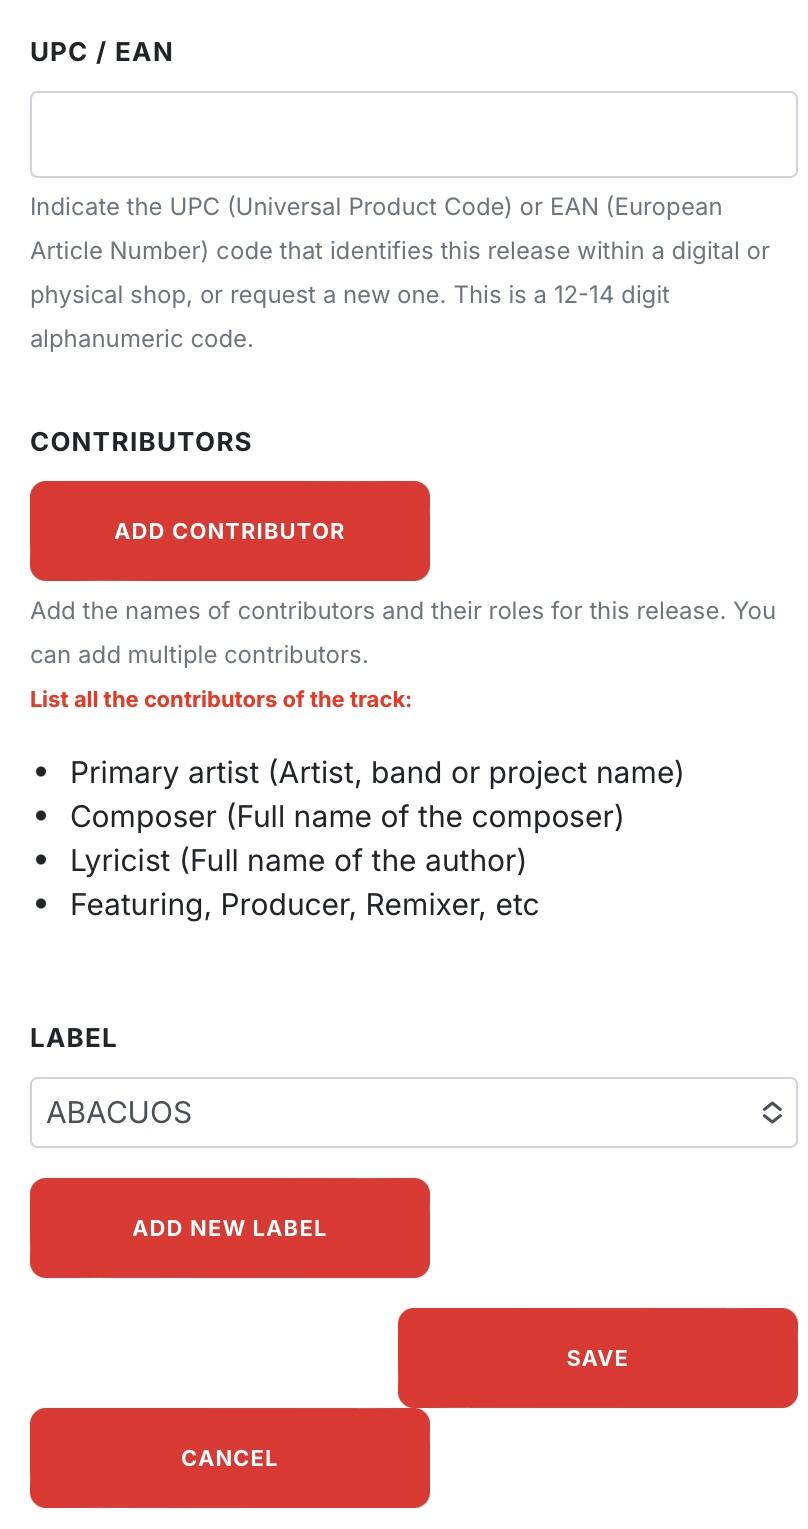
UPC/EAN Code: Enter the UPC (Universal Product Code) or EAN (European Article Number) code that identifies the release. If you do not have one, request a new code.
Contributors: Add the names of contributors and their roles for this release, including:
Primary Artist: Name of the artist, band, or project.
Composer: Full name of the composer.
Lyricist: Full name of the lyricist.
Others: Include other contributors like producers, remixers, etc.
It’s essential to note the mandatory fields that must be completed to successfully submit your music. These fields include:
Cover Art: Upload the artwork that will represent your music on digital platforms.
Audio File: Ensure your audio file meets the required specifications for distribution.
Primary Artist: Enter the name of the primary artist, band, or project.
Composer: Provide the full name of the composer who created the music.
Lyricist: Enter the full name of the author who wrote the lyrics.
Featuring, Producer, Remixer, etc.: Include any additional contributors such as featuring artists, producers, or remixers.
Step 5: Licensing
- After filling out the release information, proceed to the licensing details:
Digital Release Date: Indicate the date you want the release to be available on digital platforms. It is recommended to select a date at least 7 days in the future to ensure that the entire distribution process is completed on time.
Release Time: Specify the exact time for the release.
Time Zone of Reference: Choose between "Local Time" (the release will be available progressively according to the local time of each territory) or select a specific time zone for a simultaneous release in all territories.
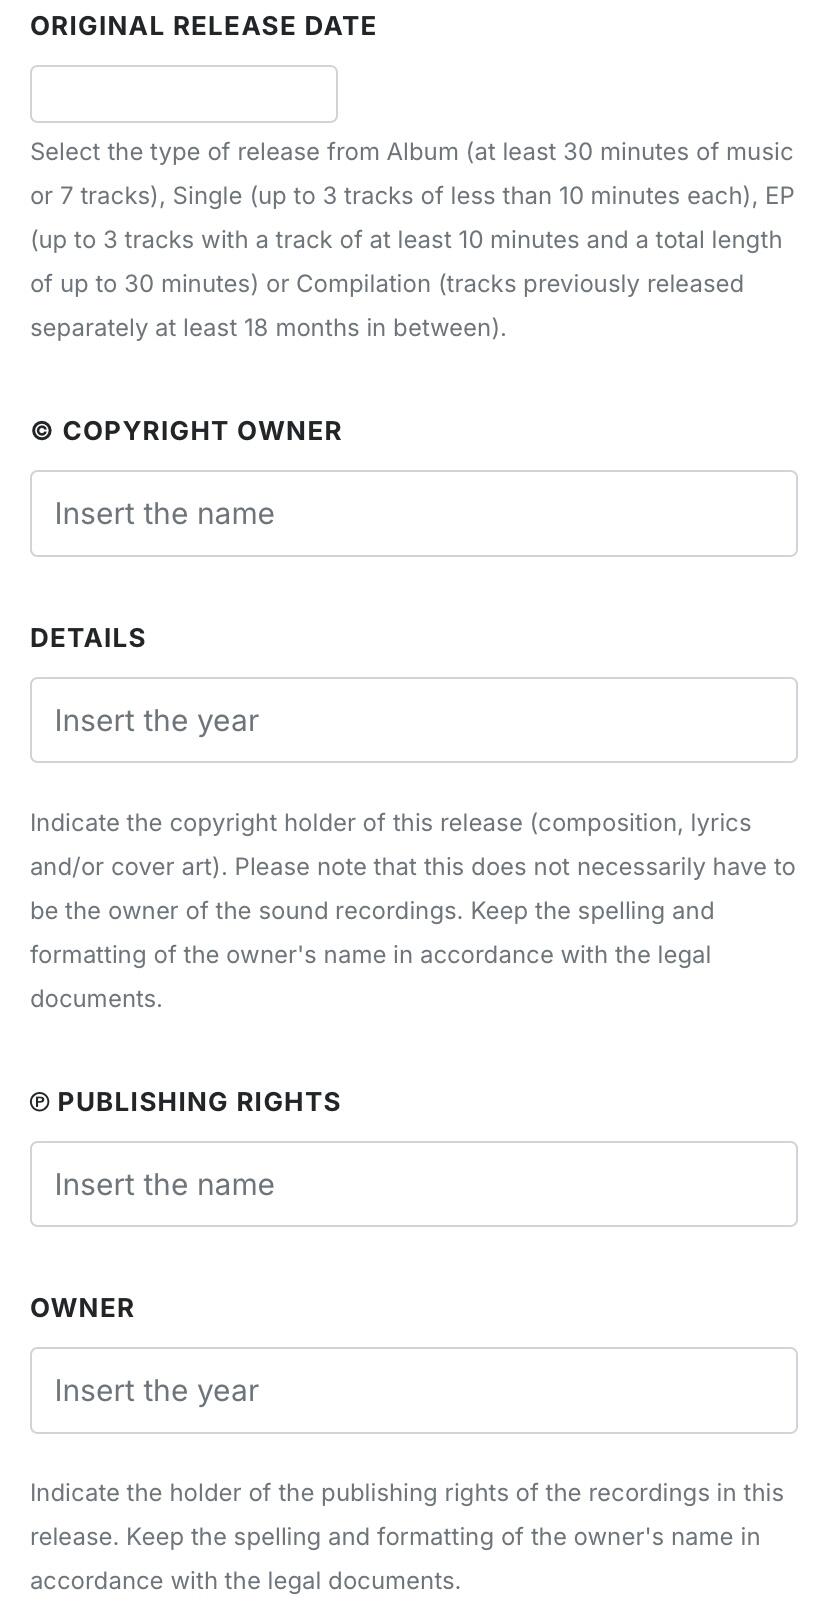
Original Release Date: Select the original release date if this is a reissue.
© Copyright Owner: Indicate the copyright holder of the composition, lyrics, and/or cover art. Ensure that the name is correctly formatted according to the legal documents.
℗ Publishing Rights Owner: Indicate the owner of the publishing rights for the recordings included in the release. Ensure that the name is correctly formatted according to the legal documents.
Step 6: Track Upload
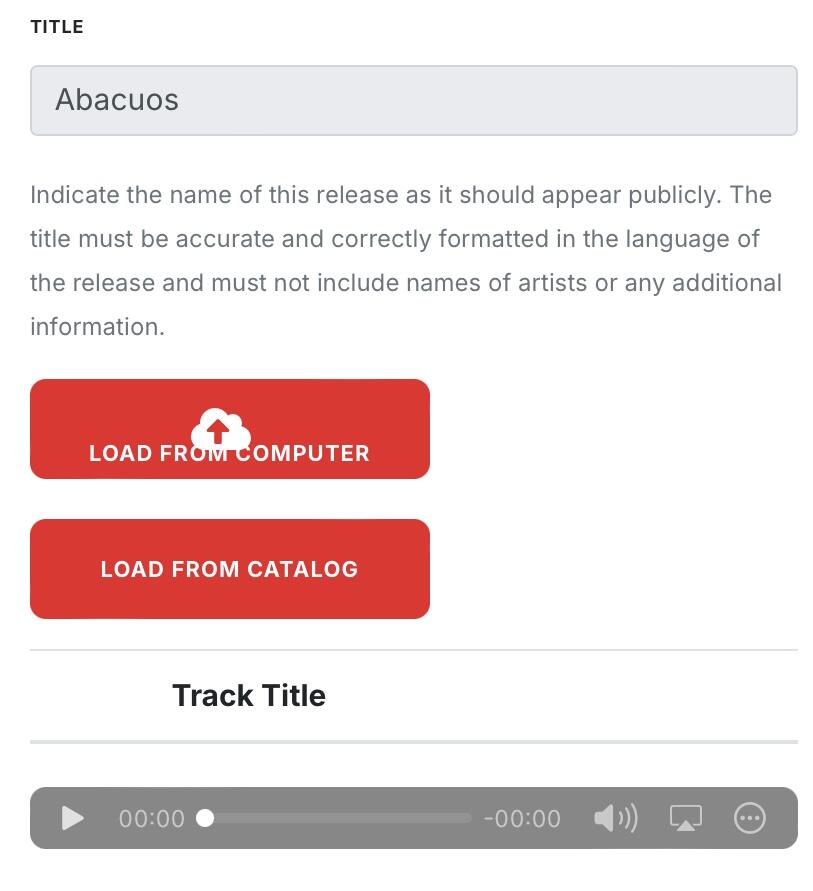
- With the licensing details completed, the next step is to upload the track:
Track Title: Indicate the name of the track as you want it to appear publicly.
Upload Method: The artist can upload the track directly from their computer or select it from an existing catalog.
Step 7: Preview and Review
- Before finalizing, the artist should review all the entered information:
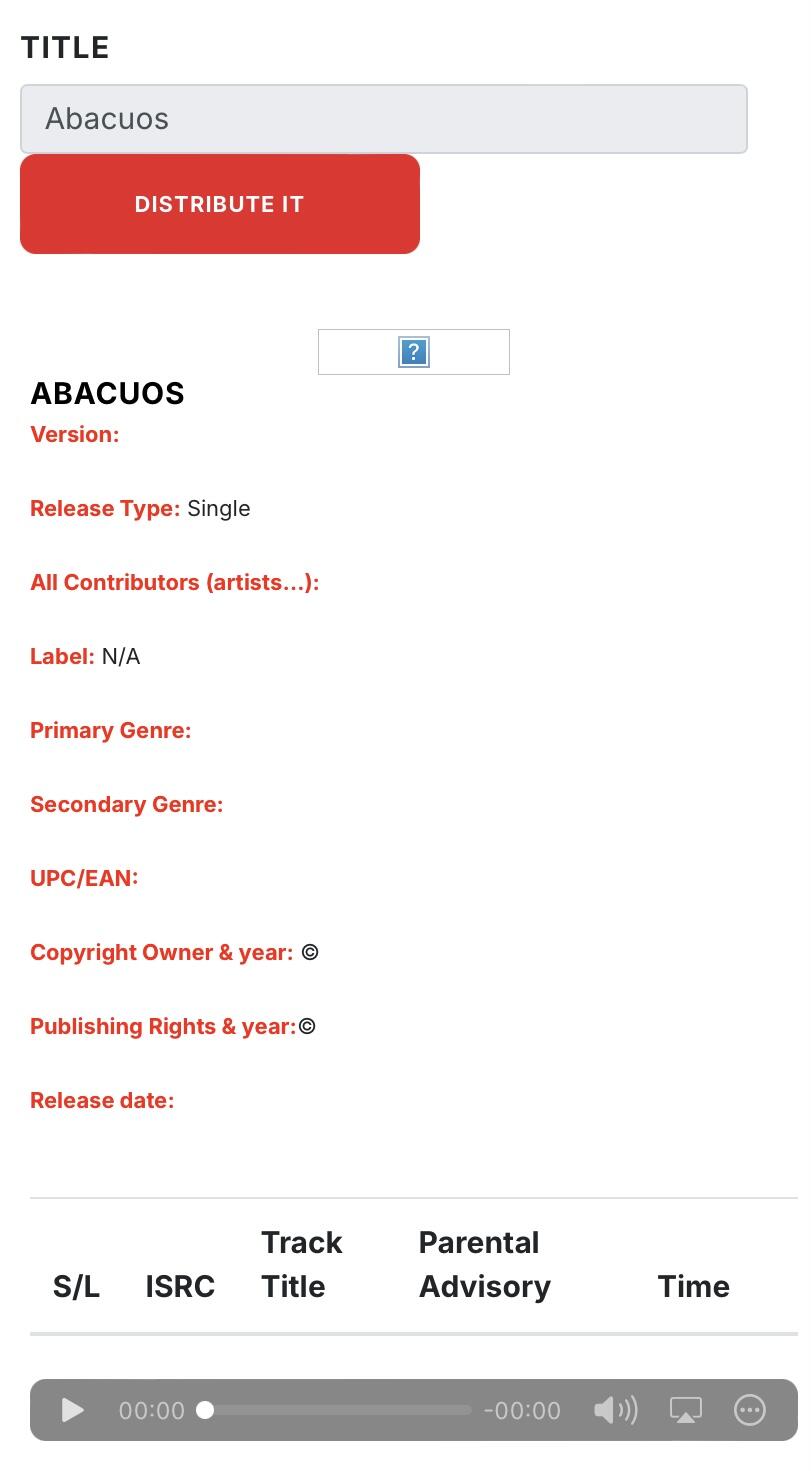
Preview and Distribution: Use the preview option to ensure that all details of the release, including the title, cover art, genres, and tracks, are correct.
Step 8: Distribution and Status
- Once all the information has been reviewed and confirmed, the artist can finalize the process:
Distribution: Click "Distribution" to start sending the music to digital platforms.
Release Status: Monitor the status of the release on the control panel, where you can see if it is under review, pending, approved, or already available on the platforms.

